


How PixelParty Works
Collect Wedding & Event Photos Instantly With a QR Code - No App Needed
PixelParty makes it easy for guests to share photos and videos during your event. Simply create your event, share your unique QR code, and guests can scan, snap, and upload instantly - right from their phone browser. Everything saves into one private shared album you can view, download, and relive anytime.
.jpg)
.png)
.png)
2. Customise Your Event
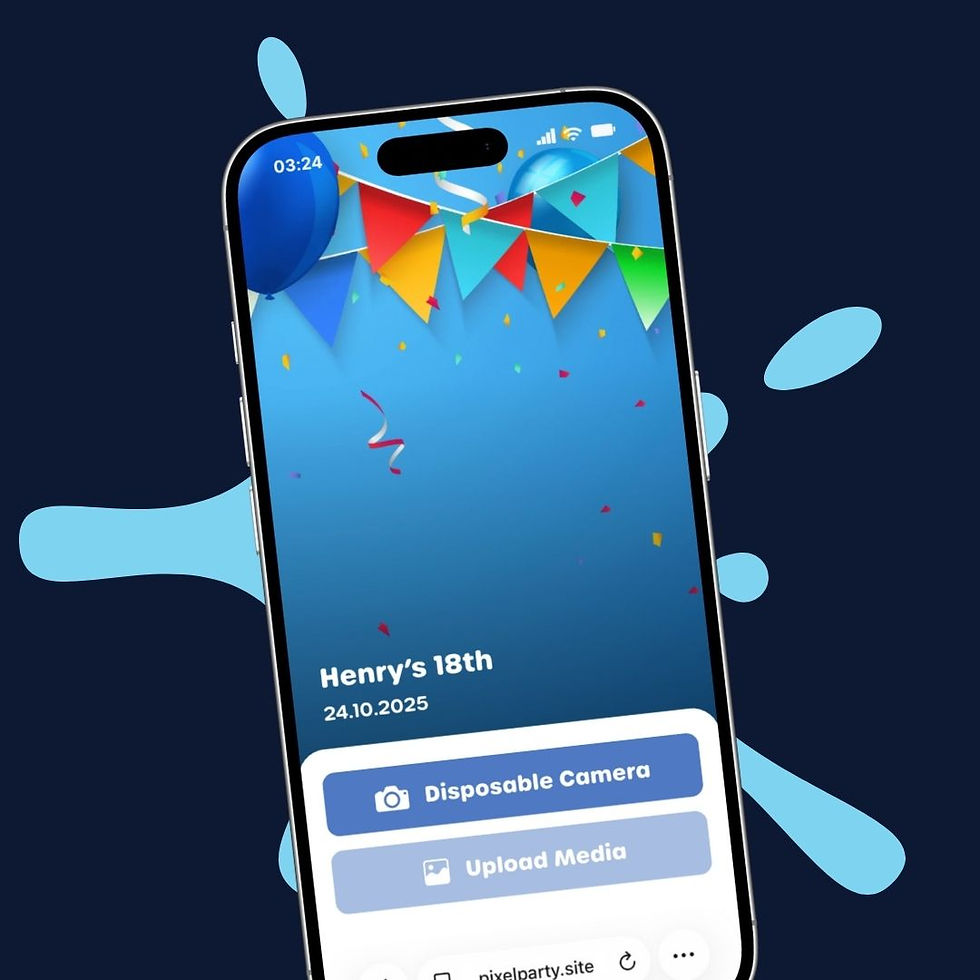
Make your event feel personal and memorable with full customisation options. Choose your colour theme, cover image, and event style to match your celebration perfectly. Whether it’s an elegant wedding, a birthday party, or a corporate event, your shared photo album and QR code for guest uploads can reflect your exact vibe. PixelParty works on any phone guests simply scan and start sharing. No app. No login. No confusion.
.jpg)
1. Create Your Event
Creating your PixelParty event only takes a minute. Click Get Started, choose your event name and cover photo, and your shared album is ready to go. Your unique QR code for guest photo uploads is generated automatically no setup stress, no technical steps. Once your event is created, you’re ready to start collecting memories.

What People Are Saying
5-Star Reviews for QR Wedding & Event Photo Sharing
Read how real couples, families, and event hosts used PixelParty to collect guest photos effortlessly using a simple QR code - no apps, no sign-ups, no stress.
These are real experiences and real memories, shared through the power of easy group photo sharing.

Why It’s So Easy
PixelParty was designed to be effortless no apps, no accounts, no stress. Guests simply scan your event’s QR code and start uploading photos straight from their phones. Whether it’s a wedding, birthday, holiday, or corporate event, every photo is saved to your private shared album, ready to relive and download later.
Questions, Answered
Got a question? We’ve got you covered. Explore our FAQs to learn how PixelParty works, from creating your event to sharing your photos with guests.
The easiest way is to use a QR code photo sharing platform like PixelParty. Guests simply scan the QR code and upload photos instantly - no app, login, or account needed.
Once you create your event on PixelParty, your unique QR code is automatically generated. You can print it, display it on tables, signage, or screens, or share it via WhatsApp, iMessage, or email.
No. PixelParty is fully web-based. Guests scan and upload from their phone browser, making it effortless for every guest.
Yes. PixelParty supports both photos and videos, all added to the same shared event album in real time.
Absolutely - PixelParty is used for birthdays, travel, holidays, corporate events, hen & stag nights, graduations, charity events, and more.
Turn on the Live Slideshow and newly uploaded photos and messages will appear on your projector, TV, or screen in real time perfect for receptions and parties.
Yes. If you enable Image Approval, uploads will appear only once the host approves them - giving you full control of your shared album.
Yes - PixelParty does not compress images. You can download full-resolution originals anytime.
Yes - the host can download everything in one click, saving you time and ensuring you’ll always keep your memories.
Your shared album stays live for 6 months after the event, giving everyone plenty of time to save, download, and relive the memories.


PixelParty's Features
QR Photo Sharing, Made Easy
Explore the unique features that make PixelParty the ultimate platform for effortlessly collecting, sharing, and reliving your wedding memories with your guests.
.jpg)
Photo Sharing for Events
Collect and share memories effortlessly with PixelParty. Guests simply scan your event’s QR code and upload photos and videos instantly - no app or login needed.
All uploads appear in one shared event album, making it easy to relive and download every moment created by everyone, for everyone.
.jpg)
.jpg)
Live Memory Slideshow
Turn your wedding or event into a real-time photo experience. As guests scan and upload photos, your slideshow updates instantly on any screen - TV, projector, or venue display. Create a shared, interactive moment that keeps everyone engaged and lets you see your celebration through your guests’ eyes.
.jpg)
Disposable Camera App
Bring the fun of disposable cameras to your event without buying any cameras. Guests simply scan your QR code and snap photos using PixelParty’s built-in camera. Every photo goes straight into the shared album, unedited and unfiltered, keeping the memories real. Only the host can delete photos so the moments stay authentic, candid, and full of personality, just like a real disposable camera.
.jpg)